The following steps will walk you through how to register a client's signature and therefore, complete their profile in order to place a data query.
Once you select Save on the client information, you will be taken to the client dashboard view.
Step 1: To continue completing the clients signature, select Authorize on the client summary page.
Note: There is an option to Download the Patient Agreement directly from this screen.

Select which authorization capture method applies:
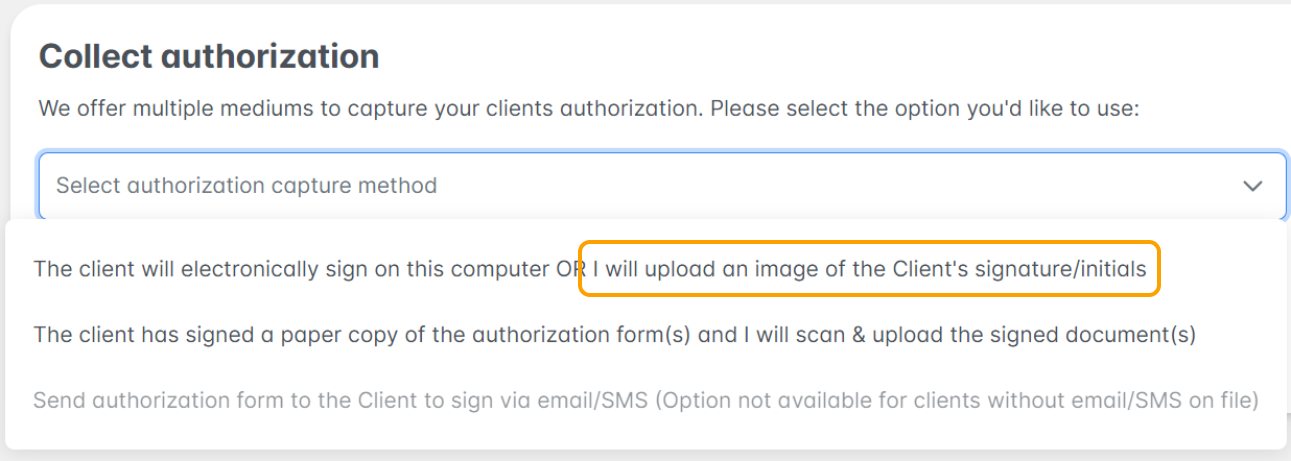
With authority granted to you by your client to affix their signature, you may select the first option where the image of the client's signature will be uploaded.
Step 2: Select the "Drop file here" option to grab the document that you have signed by the client. File Explorer will open to select the document.

Note: The document used may be multiple pages.
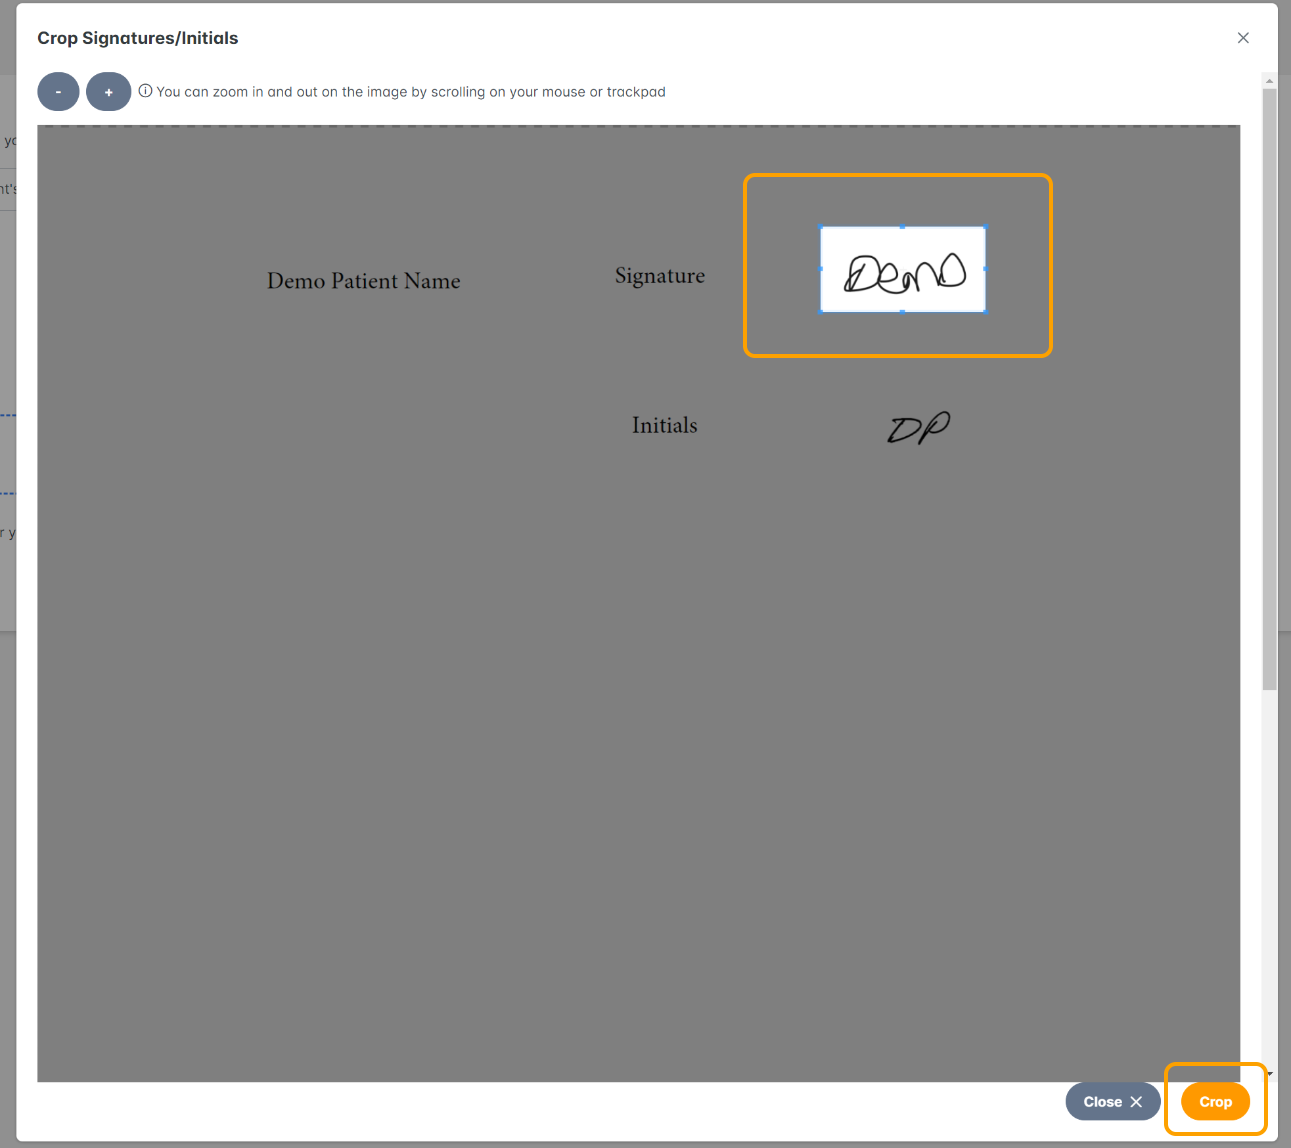
When the document is selected, the viewing tool will open. Click on the page that has the clients signature.
Step 3: Crop the client signature from the cropping tool. You may do this by using the field finder or by double clicking beside the signature.
Once the signature is captures, select Crop.
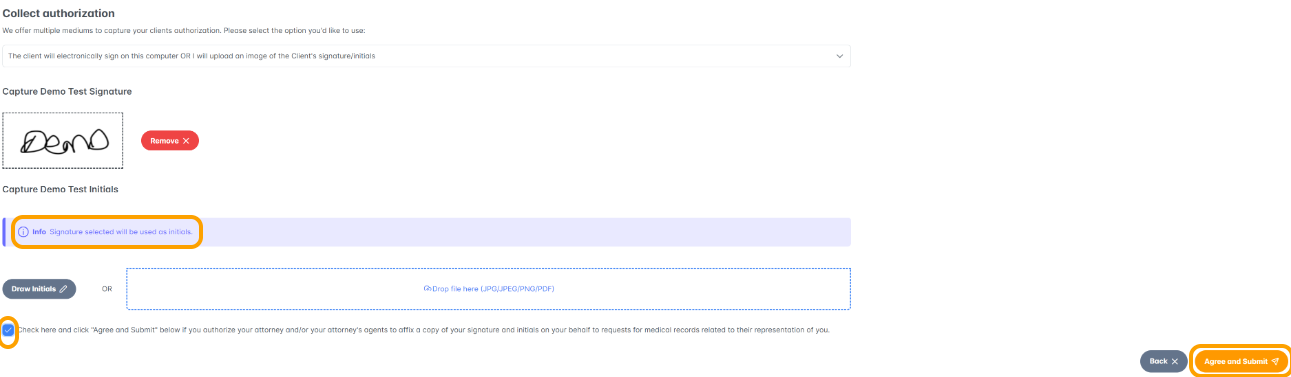
Step 4: You will see the signature populated under the Capture section. Note: The signature is used for the initials section as well.
Check the box and select "Agree and Submit"
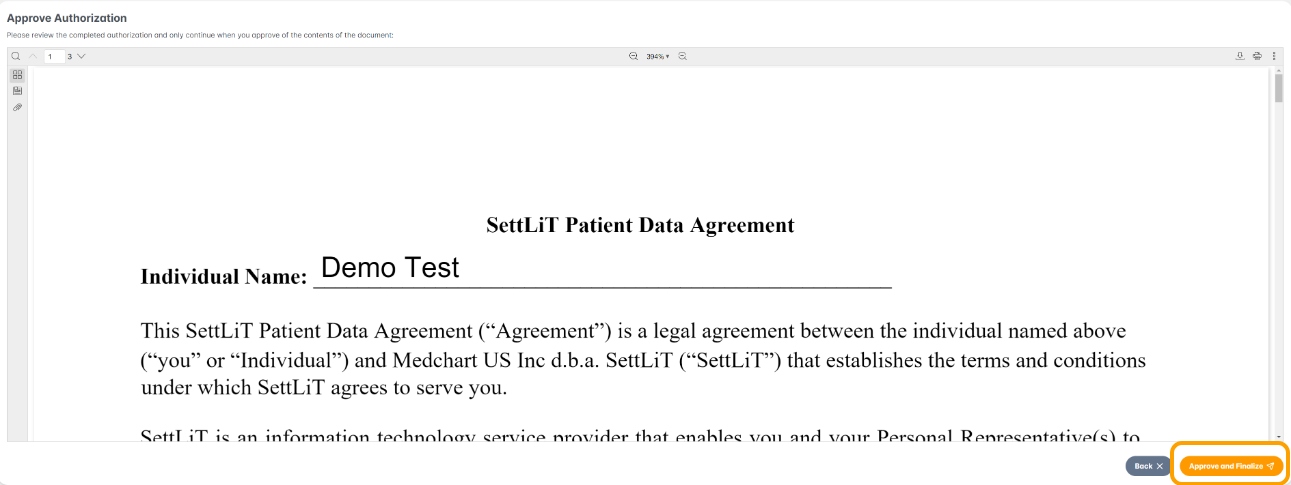
Step 5: Select "Approve and Finalize" to submit all of the forms with the completed signature and date stamps. Note: All of these documents have been approved for submission.
Your indication that the profile is complete will be shown Complete on the client dashboard: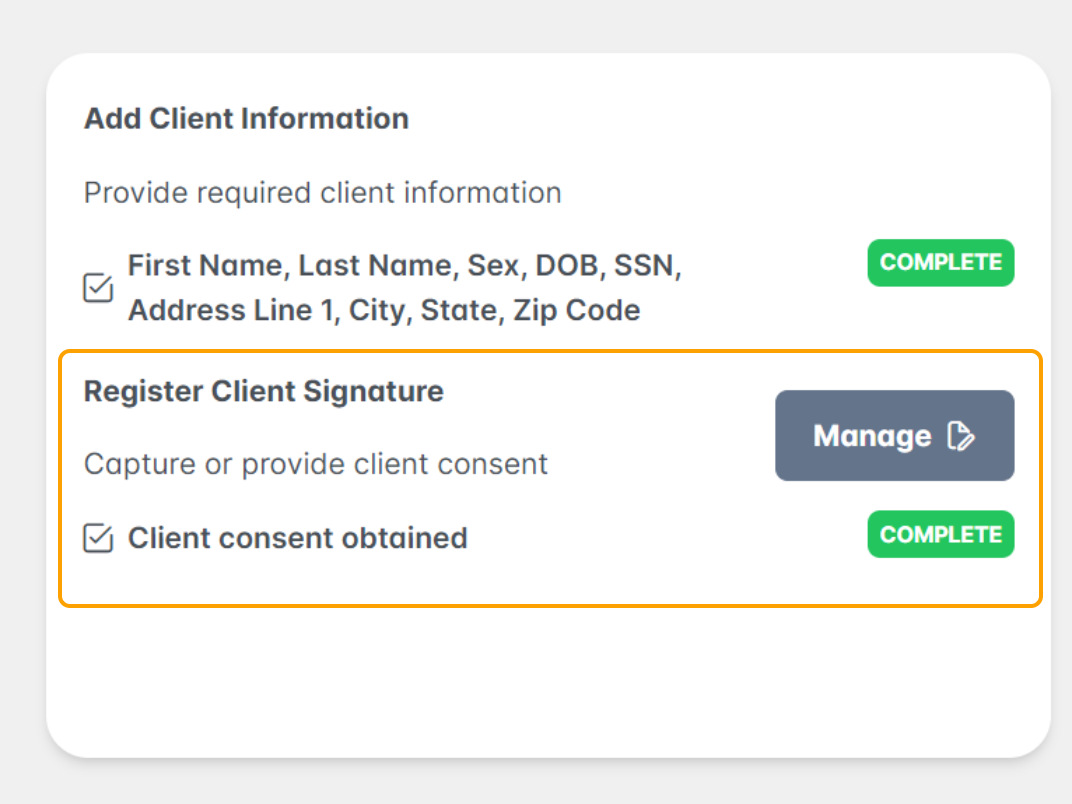
Congratulations you have now registered your client's signature on their SettLiT profile.
If you have questions or feedback, please feel free to reach out to us at support@settlit.legal.